25 Most Beautiful Macro Photographs for your inspiration - 10 Tips for Beginners
macro photography
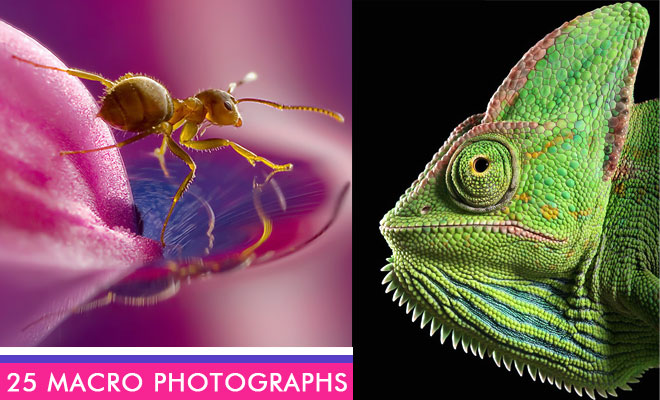
Close-up photography is great for really bringing out the detail of your subject. In our macro photography tips we tell you how to get the best results when shooting macro outside.
.jpg "25 Most Beautiful Macro Photography and 10 Tips for Beginners")
.preview.jpg "25 Most Beautiful Macro Photography and 10 Tips for Beginners")
.preview.jpg "25 Most Beautiful Macro Photography and 10 Tips for Beginners")
.preview.jpg "25 Most Beautiful Macro Photography and 10 Tips for Beginners")
.preview.jpg "25 Most Beautiful Macro Photography and 10 Tips for Beginners")
.preview.jpg "25 Most Beautiful Macro Photography and 10 Tips for Beginners")
.jpg "25 Most Beautiful Macro Photography and 10 Tips for Beginners")
.jpg "25 Most Beautiful Macro Photography and 10 Tips for Beginners")
.jpg "25 Most Beautiful Macro Photography and 10 Tips for Beginners")
.jpg "25 Most Beautiful Macro Photography and 10 Tips for Beginners")
.jpg "25 Most Beautiful Macro Photography and 10 Tips for Beginners")
.preview.jpg "25 Most Beautiful Macro Photography and 10 Tips for Beginners")
.jpg "25 Most Beautiful Macro Photography and 10 Tips for Beginners")
.preview.jpg "25 Most Beautiful Macro Photography and 10 Tips for Beginners")
.preview.jpg "25 Most Beautiful Macro Photography and 10 Tips for Beginners")
.preview.jpg "25 Most Beautiful Macro Photography and 10 Tips for Beginners")
.jpg "25 Most Beautiful Macro Photography and 10 Tips for Beginners")
.preview.jpg "25 Most Beautiful Macro Photography and 10 Tips for Beginners")
.jpg "25 Most Beautiful Macro Photography and 10 Tips for Beginners")
.jpg "25 Most Beautiful Macro Photography and 10 Tips for Beginners")
.jpg "25 Most Beautiful Macro Photography and 10 Tips for Beginners")
.jpg "25 Most Beautiful Macro Photography and 10 Tips for Beginners")
.jpg "25 Most Beautiful Macro Photography and 10 Tips for Beginners")
.jpg "25 Most Beautiful Macro Photography and 10 Tips for Beginners")
.jpg "25 Most Beautiful Macro Photography and 10 Tips for Beginners")
1. Make Sure Your Subject Is Perfect: When you're working at such close focusing distances any imperfections become more noticeable and they can end up distracting the viewer or spoiling what could be an excellent shot. However, taking the time to look at your subject, making sure the butterfly you're photographing doesn't have a damaged wing or your fungi specimen isn't dirty or had a bite taken out of it, will mean you won't be disappointed when you review your shots on your computer once home.
2. Get Up Early: Not everyone's a fan of early starts but if you want to shoot macro photography out in the field, it's something you should get used to doing. Some subjects tend to be less active in the morning, especially when it's still a little chilly, making them easier to photograph and plants, flowers and other foliage are less likely to have had a bite taken out of them early on too. Morning's can bring a sprinkling of dew which adds another level of interest to your shots and morning light is softer and warmer too.
3. Try Backlighting: Low, morning light makes it easier to backlight your subjects which can give your macro shots an interesting twist. Objects which are slightly translucent such as leaves, flower petals and butterfly wings look really good when light shines through them from the back. Keep a close eye on your shots though as the light levels can fool your camera into thinking the scene's too bright and it will underexpose the shot. If you do have problems just use exposure compensation to fix it.
4. Switch To Manual Focus: When working close to a subject autofocus tends to end up searching backwards and forwards for something to focus on. Eventually it may focus on the right point but it's much quicker to switch over to manual where you'll be able to focus more precisely. If you're not used to using manual focus it can take a little bit of practice but if you try shooting flowers, fungi and other objects which are less likely to fly or run off, you don't have to rush so can take your time in getting your focusing spot-on. Then, once you're used to working manually, move on to more tricky subjects such as insects and other wildlife.
5. Try Pre-Focusing: Some macro subjects such as insects move fast and scare easily so pre-focusing your lens before they come into frame can increase your chances of capturing a good shot. Find something that's of a similar size of your subject and position it the same distance away as your subject will be when it lands.
6. Pack A Polarising Filter: A polarising filter can be fitted to a lens to ensure the colours captured are the same as the real thing, giving your shots more punch in the process. Attaching a polarising filter to your lens will slow your shutter speeds down, however so make sure you're using a tripod to stop shake which can spoil your shot when working hand-held.
7. Avoid Shake: Camera shake is more noticeable when working close to your subject so always use a tripod. If you have one, use a remote release to fire the shutter button so you don't have to touch the camera or use the camera's self-timer. Making sure your image stabilisation is on and using quicker shutter speeds, which you can get by switching to a higher ISO if you're working in low light, will help keep movement to a minimum but it's still best to fasten your camera to a tripod.
8. Windy Days Are Your Enemy: As already mentioned, any movement in the frame is exaggerated when working at such close focusing distances so what may seem like a small breeze to you can look like a strong, winter gale blowing through your image. You can hold your subject in place with plamps etc. or if you're patient, just wait for the wind to stop blowing. You can also try and shelter the plant you're photographing with a make-shift shield. Card works well but if you're out in the field try using your camera bag or even your own body to shield your subject from the wind. Also, using a slightly quicker shutter speed will freeze motion but this isn't always possible, especially when working in darker locations such as woods.
9. Get In Close Then Add Some Space: By isolating part of a flower, insect or leaf you can create strong, abstract shots. So find detail that interests you and really zoom in close, filling the frame with striking shapes and interesting patterns. Don't forget to try the opposite too so your subject has some space to 'breath'. Why? Well it can help give your image context as well as create a sense of scale in your shot. Do keep your background simple if you do this though as you don't want it to distract from your main subject.
10. Light Your Shot Well: Where possible, try to use natural light, however there are times when this isn't possible such as working in the woods where light levels are lower or when you're working with subjects that move quickly. Rather than using your camera's built-in flash which is harsh and often too direct, try using a ring flash which can give a more even spread of light. Watch out for overexposed 'hotspots' appearing on your subject and when using natural light, make sure your own shadow isn't caught in-frame. You may also need to use a reflector to bounce much needed light into dark areas of the shot. You can buy reflectors but one made from a piece of card and silver foil can work just as well.